Instructions to add a recipient to a template:
- After adding the template of your choice, click ADVANCED EDIT.
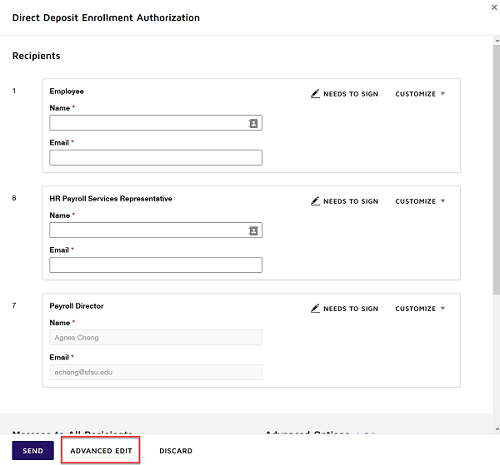
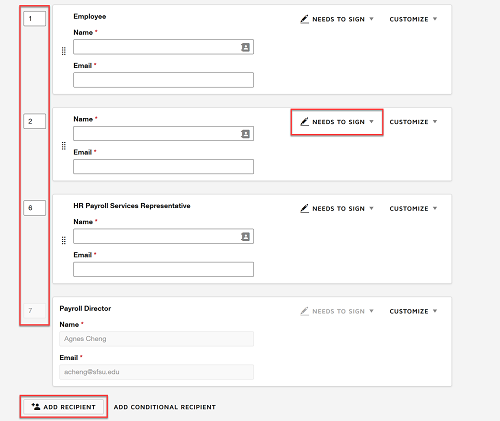
- Under Add Recipients to Envelope, select ADD RECIPIENT.
- Input the name of the recipient and designate a recipient action. Drag and drop the recipient to where they belong on the workflow and ensure the signing order is sequential.
- If the recipient Needs to Sign, you must add recipient fields on the document. Click NEXT.
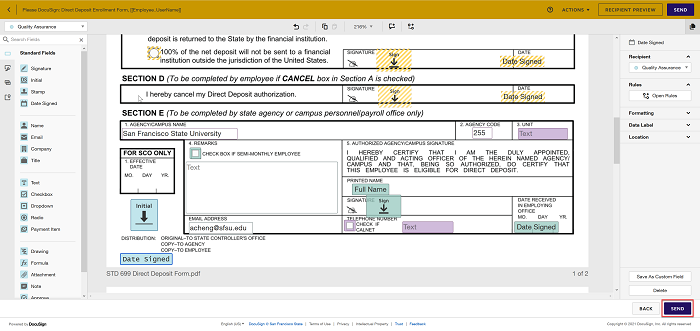
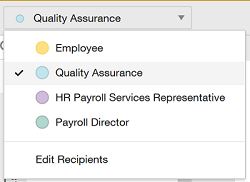
- In the recipients list at the top of the page, select a person to add fields for.
- From the Standard Fields palette at the left, click and drag the available field types and add it to the active page. Click SEND to send out the envelope.