A Powerform is initiated from a unique, secure link that you make available for signers to complete. Powerform is an ideal solution for student-initiated and self-service forms. For example, you can create a Powerform for students to complete their liability waiver form. You can link the Powerform on your website, or distribute as a secured link through email.
The person who creates a Powerform, by default, becomes the sender of the envelopes generated by the form. The Powerform creator can change the sender to any other user on the account who has the appropriate permissions. The Powerform sender has the Powerform-generated envelopes in their account as sent items, and will receive the email notifications when a Powerform is completed.
Instructions to Create a Powerform
Powerforms are created from a saved template. Only a single template can be referenced by the Powerform. The steps below assume that you have a completed template ready to use for your Powerform. See template guide for more information on how to prepare a template.
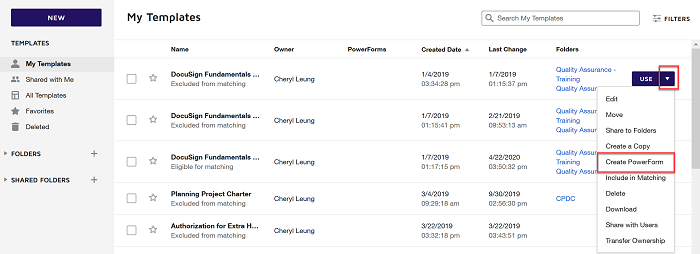
- From the Templates page, locate the template you want to use for your Powerform.
- Click the actions menu on the right and select Create Powerform.
- The Create Powerform view appears. The summary information is prefilled from the template information.
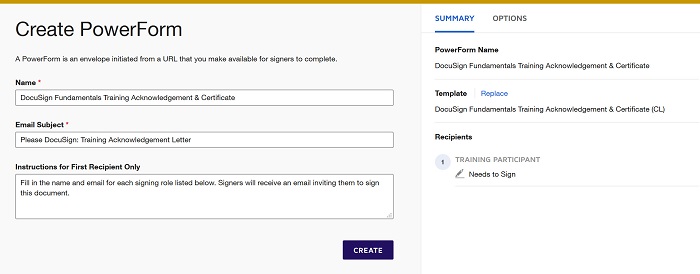
- Customize the Powerform Summary information as follows:
- Name: The name of your Powerform.
- Email Subject: This subject represents the name of the envelopes generated from the Powerform. We recommend to add merge field to the title and make it easier to identify and locate specific responses on the Manage page. Click on the merge field icon and select the merge fields to insert in the email subject. Fields for the name and email address for each role on the underlying template are listed to choose from.
- Instructions for First Recipient Only: Instructions for the first signer on how to complete your Powerform. These instructions appear below the Powerform Signer Information when a signer initiates the form.

- Click on CREATE to create and activate your PowerForm. Select COPY to obtain the unique URL for your Powerform.
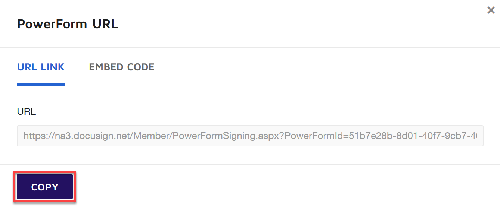
- Once you create a Powerform, you should test it before distributing it for signers to access. Paste the copied link into a browser. Enter your name and email address in the Powerform Signer Information form, and click Begin Signing. If everything is working as expected with the Powerform, you can then distribute it to signers for access.