
Instructions to send document to non-SF State individuals:
For University processes that involve external parties, you may refer to the Security Matrix and apply the recommended security control based on the risk level of your documents.
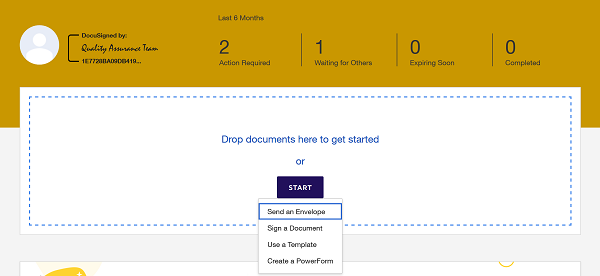
- On your DocuSign homepage, click on Start and select Send an Envelope.
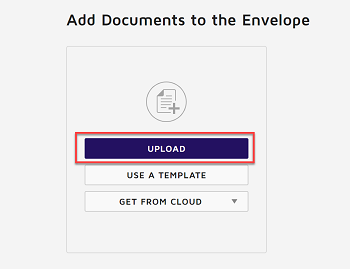
- Click on UPLOAD to upload a document that has been approved for use in DocuSign.
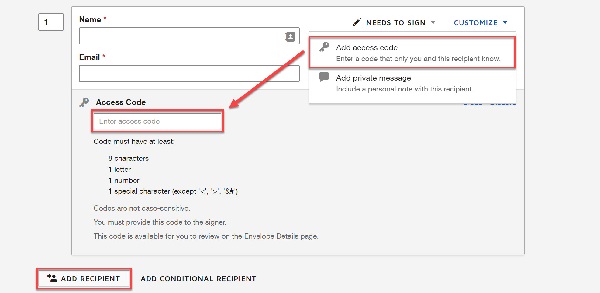
- In the Add Recipients to Envelope section, enter the recipient information (name and email) and assign recipient actions. To add additional individuals who are part of the routing, click ADD Recipient and confirm signing order.
- If you are sending a high risk document, then click MORE and select Add access code to enter a unique access code to each recipient. You will share this access code to the individual by phone or text.
- If you are sending a low or medium document, you DO NOT need to enter an access code to each recipient.
- DocuSign automatically adds an email subject when you upload a document. You can customize the subject and add a message to the recipient by filling in the MESSAGE fields. When finished, click NEXT at the bottom right corner to add fields.
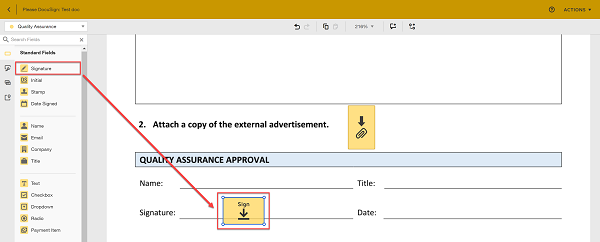
- The Fields Palette and your document appear. The recipient name is displayed in the Recipients List on the top right. To assign a signature or other field for the recipient, click and drag a field from the Fields Palette and place it on the document.
- Review your document, then click on SEND at the top right to send out the document.