
Instructions to send document to SF State individuals:
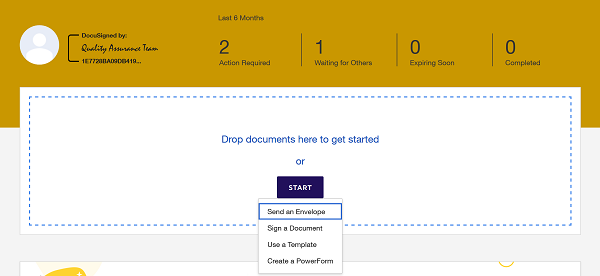
- On your DocuSign homepage, click on Start and select Send an Envelope.
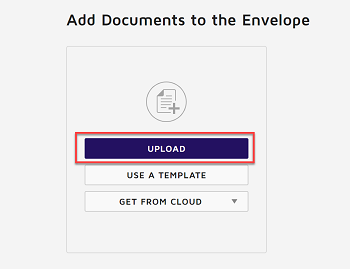
- Click on UPLOAD to upload an accessible document that has been approved for use in DocuSign. See document preparation guide for more information.
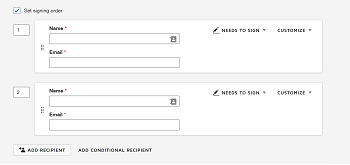
- In the Add Recipients to Envelope section, enter the recipient information (name and email), assign recipient actions, and confirm the signing order.
- DocuSign automatically adds an email subject when you upload a document. You can customize the subject and add a message to the recipient by filling in the MESSAGE fields. When finished, click NEXT at the bottom right corner to add fields.
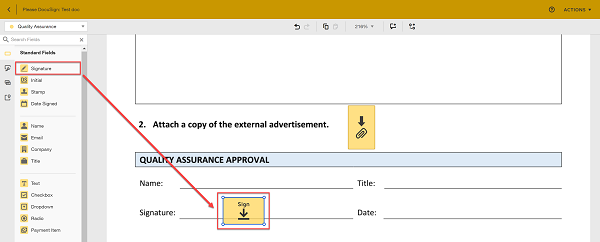
- The Fields Palette and your document appear. The recipient name is displayed in the Recipients List on the top right. To assign a signature or other field for the recipient, click and drag a field from the Fields Palette and place it on the document.
- Review your document, then click on SEND at the top right to send out the document.